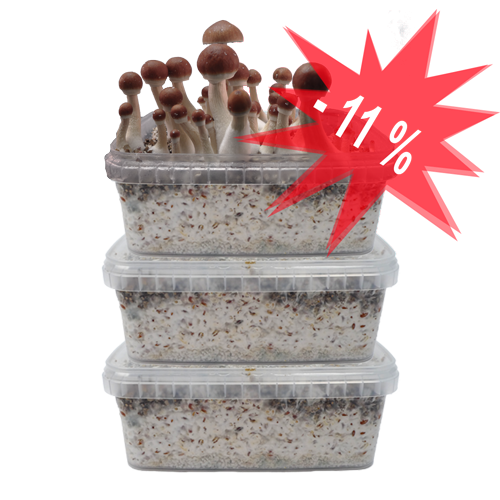
Three Magic Mushroom Grow Kits Special Offer
104,95 €
Mondo grow kit + GetMagic grow kit + FreshMushroom grow kit = großer Rabatt 
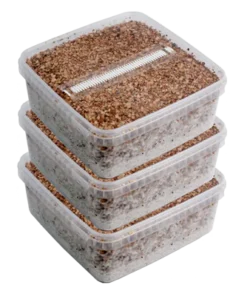
Purchase this Magic Mushroom Combo Pack and choose three Magic Mushroom Grow Kits. Select one strain from the Mondo® Magic Mushroom Grow Kit, one Getmagic Magic Grow Kit, and one FreshMushroom® Magic Mushroom Kit.
Get a taste of the world of mushrooms today with a discount! Order 3 heating mats and receive a discount on those as well.
The Getmagic grow kit comes with an orange sticker labeled ‘GM’. The Freshmushroom grow kit comes with a green sticker labeled ‘FM’. The Mondo grow kit does not include a box. You can find the different instructions here.
3 Magic Mushroom Grow Kit Discount Combo Pack (GetMagic, Mondo & FreshMushrooms)
The 3 Magic Mushroom Grow Kit Combo Pack offers the ultimate home-cultivation bundle for European growers looking to sample different Psilocybe cubensis strains while maximizing overall yield. By bundling three premier European grow kit brands—GetMagic, Mondo®, and FreshMushrooms®—you save money compared to purchasing individual units and experience distinct growth characteristics across three unique mycelium bases.
Whether you are seeking dense flushes or fast-colonizing genetics, this discount pack provides everything needed for a successful harvest under variable growing conditions.
Brand Comparison: GetMagic vs. Mondo vs. FreshMushrooms
Each brand included in the 3-Pack bundle utilizes distinct substrate formulations and bag designs. Understanding how these kits differ helps ensure seamless cultivation from initial setup to harvest.
| Feature | GetMagic® Grow Kit | Mondo® Grow Kit | FreshMushrooms® Grow Kit |
| Identification Sticker | Orange “GM” Sticker | Cardboard-free / Plain box | Green “FM” Sticker |
| Initial Soak | 5-minute cold soak | Mandatory 12-hour soak | NO soak required for 1st flush |
| Bag Ventilation | Micron filter bag + clips | Filter bag with seal sticker | Micro-perforated 2-layer bag |
| Days to First Pins | 10 – 20 Days | 7 – 16 Days | 5 – 12 Days |
| Average Harvest Time | 2 to 3 Weeks | 2 to 4 Weeks | 10 to 18 Days |
| Multiple Flushes | 2 to 4 Flushes | 3 to 5 Flushes | 3 to 5 Flushes |
Pre-Colonized Active Substrates
All three kits contain premium rye and substrate cakes fully colonized by vigorous Psilocybe cubensis mycelium. Grown under sterile laboratory conditions, each kit arrives ready for activation.
Stealth European Shipping
All orders ship directly from Western Europe in plain, unbranded packaging. Fast transit ensures live mycelium stays healthy during transport across Germany, France, the Netherlands, Spain, Italy, and the broader EU.
Step-by-Step Activation Instructions by Brand
Because each grow kit brand features different activation protocols, follow the specific procedure corresponding to the sticker code on your kit box.
| Kit Brand | Initial Setup Protocol | Primary Water Placement |
| GetMagic (Orange “GM”) | 5-minute cold soak, then drain completely | 200–250ml water inside grow bag |
| Mondo (Unlabeled Box) | 12-hour full tub soak in cold water | Mist inner bag walls daily |
| FreshMushrooms (Green “FM”) | No setup soak required; place straight into bag | Mist inner bag walls as needed |
Operating the GetMagic Kit (Orange “GM” Sticker)
-
Wash hands thoroughly and put on sterile gloves and a face mask.
-
Remove the lid and fill the tub with lukewarm water (20°C). Place the lid back on and let it soak for 5 minutes (never exceed 1 hour).
-
Remove the lid and drain excess water for 10 seconds. Keep the lid for subsequent flushes.
-
Pour 200–250ml of lukewarm water directly into the bottom of the grow bag.
-
Place the open tub inside the bag, fold the top twice, and seal with the 2 provided paperclips.
Operating the Mondo® Kit
-
Remove the plastic tub from the shipping packaging.
-
Fill the tub completely with fresh drinking water, snap the lid tight, and soak for 12 hours.
-
After 12 hours, pour out all excess water completely.
-
Place the tub inside the micron-filter grow bag, mist the inner bag walls, fold the top, and clip it shut.
Operating the FreshMushrooms® Kit (Green “FM” Sticker)
-
Do not soak the cake prior to your first flush.
-
Remove the lid from the tub (store the lid safely inside the box).
-
Place the open plastic tub directly inside the perforated grow bag.
-
Fold the top of the bag over twice and secure with the included paperclips.
Essential Supplies & Workspace Preparation
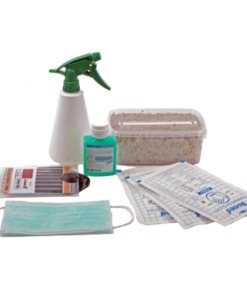
Contamination from airborne bacteria or competing fungi is the leading cause of kit failure. Maintaining a clean growing environment is critical for maximum yields.
| Tool / Accessory | Function | Recommended Usage |
| Sterile Latex Gloves | Prevents hand contact contamination | Wear whenever touching tubs or bags |
| Face Mask | Protects cake from respiratory bacteria | Wear during setup, misting, and picking |
| Surface Disinfectant | Eliminates micro-organisms on surfaces | Spray workspace prior to opening kits |
| Digital Thermo-Hygrometer | Tracks climate metrics continuously | Keep near kits to monitor temp & humidity |
| Thermo Heating Mat | Stabilizes ambient warmth in winter | Place under kits if room drops below 18°C |
Workspace Sanitation Protocol
-
Air Control: Close all doors and windows to eliminate drafts that carry mold spores.
-
Surface Cleaning: Wipe down your work surface with an alcohol-based surface spray or disinfectant gel.
-
Personal Protection: Wash hands and forearms thoroughly, apply hand sanitizer, and put on sterile gloves and a face mask before handling any grow box.
Ideal Environmental Conditions for Growth
Maintaining consistent environmental parameters speeds up pinhead formation and increases total weight across all flushes.
| Parameter | Optimal Range | Management Strategy |
| Target Temperature | 20°C – 25°C (68°F – 77°F) | Ambient heating; use heat mat if under 18°C |
| Lighting | Indirect daylight / room light | 4–12 hours daily; avoid direct sunlight |
| Relative Humidity | 90% – 95% | Regular side-wall misting inside grow bags |
| Air Exchange (Post-Pinning) | 1–3 times daily | Brief bag ventilation once pins appear |
Temperature Control During Cold Months
Mycelial growth slows significantly if temperatures drop below 18°C. During colder seasons in Europe, place an infrared thermo heating mat beneath your grow setup.
Important Safety Note: Avoid placing grow boxes directly onto heating mats. Use an insulating barrier—such as a piece of cardboard or a small plastic stand—to elevate the tub slightly and prevent the bottom of the substrate cake from drying out.
Harvesting Technique & Cold Soaking for Next Flushes
Mushrooms mature rapidly once pinheads form. Harvesting at the correct moment preserves potency and keeps your substrate healthy for subsequent flushes.
| Flush Stage | Recommended Action | Operational Detail |
| 1. Veil Inspection | Monitor cap undersides daily | Harvest as the protective membrane begins to tear |
| 2. Extraction | Twist and lift gently | Grasp stem base; rotate clockwise to release cleanly |
| 3. Substrate Clean | Remove aborts & micro-pins | Clear tiny premature pins to prepare for cold soak |
| 4. Cold Re-Soak | 12-hour rehydration soak | Fill tub with cold water, cap lid, and refrigerate (2°C–8°C) |
| 5. Cycle Restart | Drain water completely & re-bag | Drain all liquid, place tub back in bag, and re-seal |
Harvesting Procedure
-
Wear sterile gloves or sanitize hands up to the elbows.
-
Hold the mushroom stem near its base between your thumb and forefinger.
-
Gently twist clockwise while pulling upward slowly until the stem releases from the substrate cake. Do not yank or tear the mycelium.
-
Collect all mature mushrooms as well as tiny aborted pins before re-soaking.
Resetting Kits for Subsequent Flushes
After harvesting a full flush, all three kit brands require rehydration:
-
Fill the plastic tub containing the substrate cake with cold tap water.
-
Snap the sanitized lid back onto the tub.
-
Place the sealed tub into your refrigerator (2°C – 8°C) for 12 hours.
-
After 12 hours, drain all excess water thoroughly.
-
Place the tub back inside its grow bag, mist the bag walls, and resume regular growing conditions.
Growth Troubleshooting & Contamination Management
Managing Side-Pins
Side-pins develop along the inside walls of the plastic tub where micro-climates form.
-
Prevention: Wrap the lower outer half of the plastic box with aluminum foil or dark tape to restrict light penetration to the sides.
-
Harvesting Side-Pins: If pins form on the sides, sanitize your hands, tip the cake out onto a disinfected surface, pick the mushrooms, and place the cake back inside the tub before soaking.
Identifying Contamination Colors
-
Green / Blue-Green (Trichoderma): Indicates severe mold contamination. Discard the kit immediately in outdoor waste to avoid spreading spores.
-
Blue/Purple Tinting: Harmless bruising on stems or caps caused by handling or direct misting. This is standard psilocybin oxidation.
-
Grey Fuzz (Cobweb Mold): Spreads rapidly over the substrate surface. Treat early by misting lightly with a 3% hydrogen peroxide solution.
Frequently Asked Questions
How do I know which instructions belong to which kit in the combo pack?
Check the sticker on the box lid. The GetMagic kit features an orange “GM” sticker, the FreshMushrooms kit features a green “FM” sticker, and the Mondo kit arrives in a box-free container or plain packaging.
Can I set up all three kits in the same room?
Yes. All three kits can be grown in the same ambient room, provided the environment is warm (20°C–25°C), clean, and kept out of direct sunlight.
How long can I store the grow kits before activating them?
If you cannot set up your combo pack immediately, store the unopened kits inside your refrigerator at 2°C to 8°C. They can be safely stored for up to 4 to 6 weeks.
What total yield can I expect from the 3-Pack combo?
Under optimal growing conditions, the three kits combined can produce a cumulative harvest of 800 to 1,800 grams of fresh mushrooms across 2 to 4 flushes per kit.
Maximize Yields with the 3-Pack Combo Bundle
The 3 Magic Mushroom Grow Kit Combo Pack delivers high variety, generous total yields, and exceptional value for European home growers. By following the targeted activation instructions for GetMagic, Mondo, and FreshMushrooms, you can enjoy a continuous harvest of fresh Psilocybe cubensis strains.
Ready to start growing? Select your combo bundle, add essential sterile supplies, and benefit from fast, discreet shipping across Europe.
Be the first to review “Three Magic Mushroom Grow Kits Special Offer”
Related products
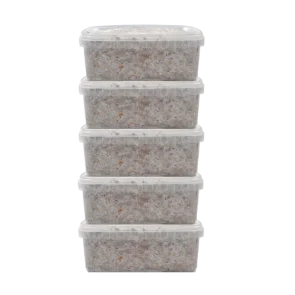
Fresh Mushrooms Magic Mushroom Growing Kits
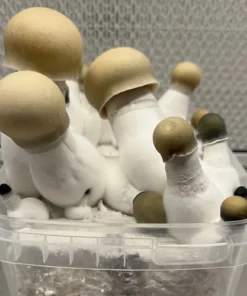
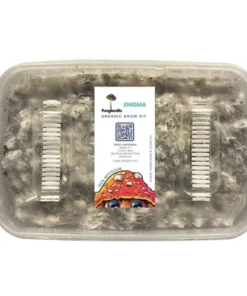
Buy Magic Mushroom Growkits Mondo®
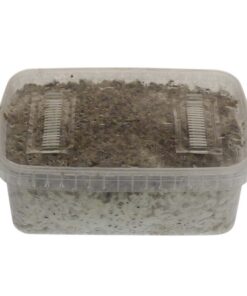
GetMagic Magic Mushroom Grow Kits
Buy Magic Mushroom Growkits Mondo®
GetMagic Magic Mushroom Grow Kits
Buy Magic Mushroom Growkits Mondo®
GetMagic Magic Mushroom Grow Kits
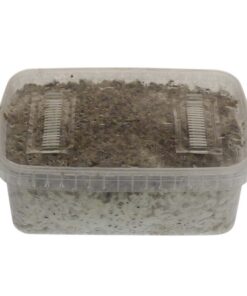
Fresh Mushrooms Magic Mushroom Growing Kits
Reviews
There are no reviews yet.